Being a DIY guy or a girl is not something that many can praise. We all try to do something with our hands and brain but not many of us can succeed. Making something with your two hands, with your tools, for your enjoyment is a thing that makes you so happy that it is almost hard to explain.
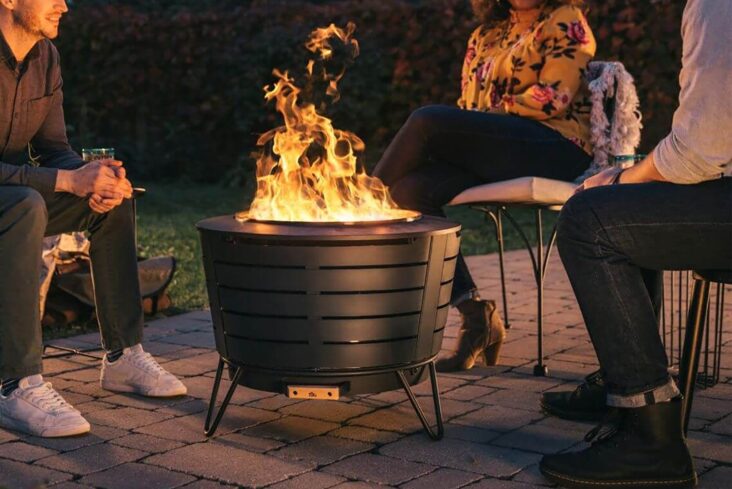
Today we will be discussing a little DIY project and we will give you some tips on how to make it easy, good and fast. We are discussing a smokeless fire pit. Yes, we know that most of you probably have one at home but is it smokeless?! Fire produces smoke before it ignites fully or when it burns if your wood isn’t good. If you have a company that likes to enjoy next to a fire pit then you probably don’t want to have smoke going in your eyes, you don’t want to smell like you just got out of a building on fire and so on.
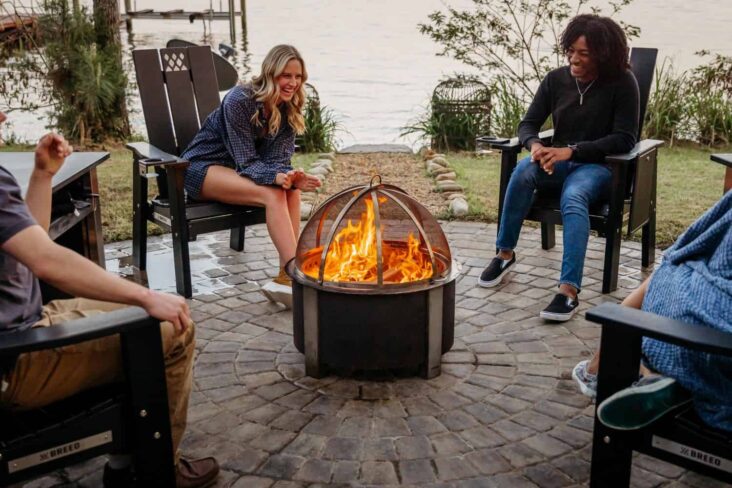
I don’t like that too and this is the reason I decided to help you build a fire pit that will be a central feature of your backyard and that will make your friends want to stay extra long and enjoy the marshmallows and the sound of crackling wood and the nice warmth coming out of the pit. Before all of your that can’t DIY start yelling, we have you covered as well, and if you want Smokeless Fire Pits then be sure to visit mancavebackyard.com.
1. Size matters

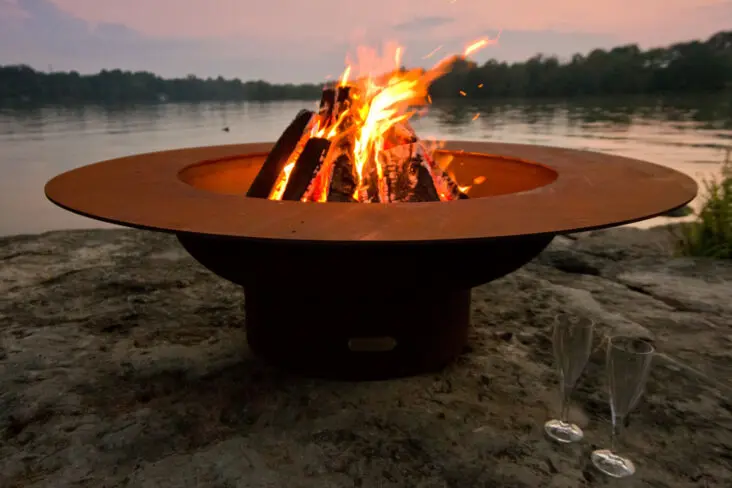
Whenever it comes to smokeless fire pits you need to know one important thing. These work better if they are not too big. When we say too big, we mean they don’t need to be wide. They are more efficient and easier to use if they are a bit taller and narrower. Those wide ones will eat a lot of wood and you will never get the desired effect. You will waste fire and energy a lot and it will produce a lot of smoke until it gets going for good. This is why you need a narrow fire pit and one that is slightly taller.
2. Preparation is key

When it comes to these things making a fire pit is easy, and it is if you want your pit to smoke like crazy. Making a pit takes little time and all you need, depending on the style of a pit you are going for, is to dig a little bit, make some space for the bricks or stones, or whatever else you are using for the pit wall, lay that down, have some gravel in the pit on the bottom and you can start making fire. This is all fine and nice but with these, you will always have a hard time enjoying it because they will smoke a lot and you will have to move around. If you are trying to go for a smokeless fire pit you need to lay your bricks in a certain order that will allow air from the bottom to enter the pit and help the fire burn faster and stronger without creating smoke.
3. Get a good fire ring

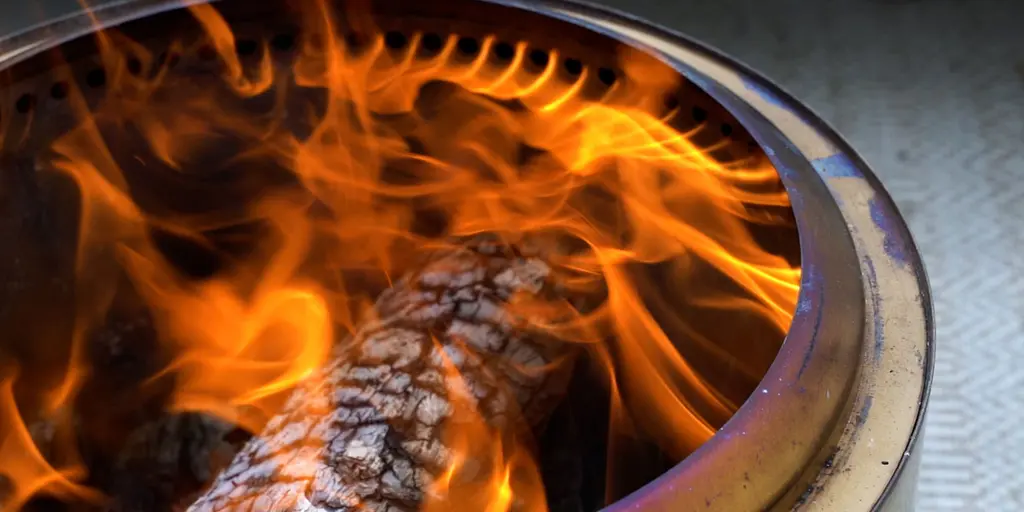
These aren’t hard to find and they are available almost everywhere. The thing to know is the dimensions of the ring, meaning you need to know how big of a fire pit you want and based on that get the ring that matches in dimensions. It will simplify your smokeless fire pit DIY and it will look awesome. What you need to do, to prepare the ring is drill some holes alongside the top rim from the inside of the pit ring. This will allow for the cooler air from below to rise when hated and it will supply the fire with nice and warm, oxygenated air which will cause secondary combustion that will help burn off that excess smoke. One more thing that will benefit you is to look for a fire pit ring that has a flange on top that is a bit wider than one inch and it will cover that air pocket you will create with stones later on. This will prevent for that air to escape anywhere else but into the fire pit to burn off that smoke no one wants.
4. Air gaps
After you got your fire pit ring and after you placed it on some gravel or smaller stones you can get the stone wall blocks and place them around that ring. One thing to keep in mind here is that air is your friend in creating a smokeless environment and you want to make at least a one-inch gap between your pit wall and that fire ring you got before. That pocket will make a cool air pocket that will eventually be introduced to the fire and it will be the thing that will make this a smokeless setup. Be sure to recall that second step where you need to place those wall stones correctly with some gaps to let the air inside this pocket.
5. The finish

Now the way you will finish your fore pit we will leave it to you because this is the aesthetic part of the DIY process and we don’t want to butt in. We helped you with the first part and told you what to do and how to get rid of that smoke, the finishing touches that have nothing to do with it, we’ll leave it to your needs and ideas.
We hoped that this article was of help to you all, we know that we had a lot of time testing these things out and we know that this works. The best thing is that this doesn’t have to be that pricy and it isn’t that hard. You need a day or two of time, you need a bit of will and you will be having fun with this project in no time.
Best of luck to those of you that will dive into this and we wish you a lot of smokeless fire pit gatherings with friends and family. Enjoy!

